Video Tutorial #
Stepwise Guide #
- Login to the Udyogx portal by entering your username and password.
- Go to ‘Student > Bulk Operation’. Clicking on Bulk Operation will open a form.
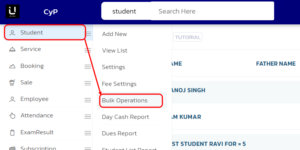
- After the form opens, you will see “Operation Filters” such as “Operation Name”, “Select Session”, and “Sort List By”. You need to select the options in all these filters according to your report.
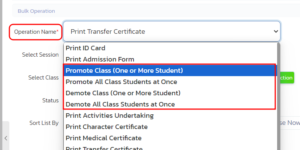
- To promote students, you need to click on Operation Name where you will see two filters. For example, with the “Promote class (one or more student)” filter, you can promote students one by one. With the “Promote all class students at once” filter, you can promote all students of the school at once.
- After selecting the filter, a Student Name List will appear on the side, showing the names of students. From there, you can select students to promote or demote.
Examples #
Example 1: If you want to promote all students of a class at once. #
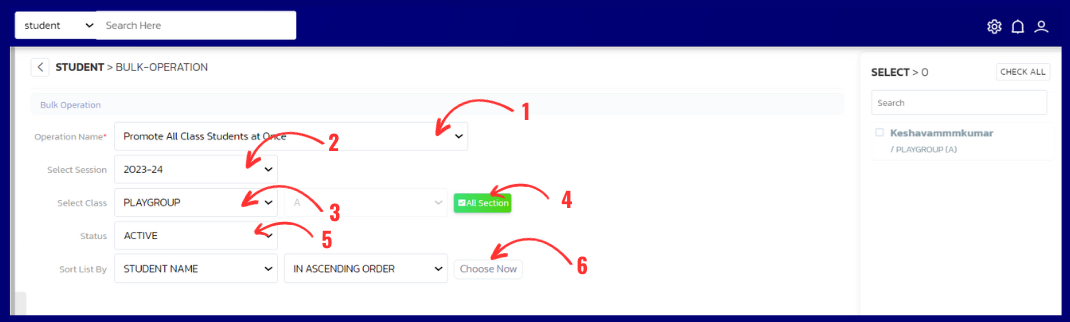
Operation Name: ‘Promote all class students at once’, Select Session: ‘2023-24’, Status: ‘Active’, Sort List By: ‘Student Name (In Ascending Order)’. After processing, the students will be promoted.
Filters Help #
- Promote class (one or more students) – When you want to promote a single student from any class, you need to select ‘Promote class (one or more students)’ in Operation Name. Here you can promote students one by one.
- Promote all class students at once – When you want to promote all students at once, you need to select ‘Promote all class students at once’. Here you can promote all students in bulk at once.
- Select Session – Here you need to select the session in which students are currently being added, like – 2023-24.
- Sort list by – Here you have to choose how you want the list, for example, if you want the list sorted by Student Name or Father’s Name, then apply the respective filter accordingly.


