This guide explains how to add or update class names in the Student module on UdyogX Marketplace. You can do this using either the top settings menu or the sidebar navigation.
Video Guide #
Stepwise Instructions #
Method 1: Using the Settings Menu #
1. Login to Your Account: Access your UdyogX Marketplace account by entering your login credentials.
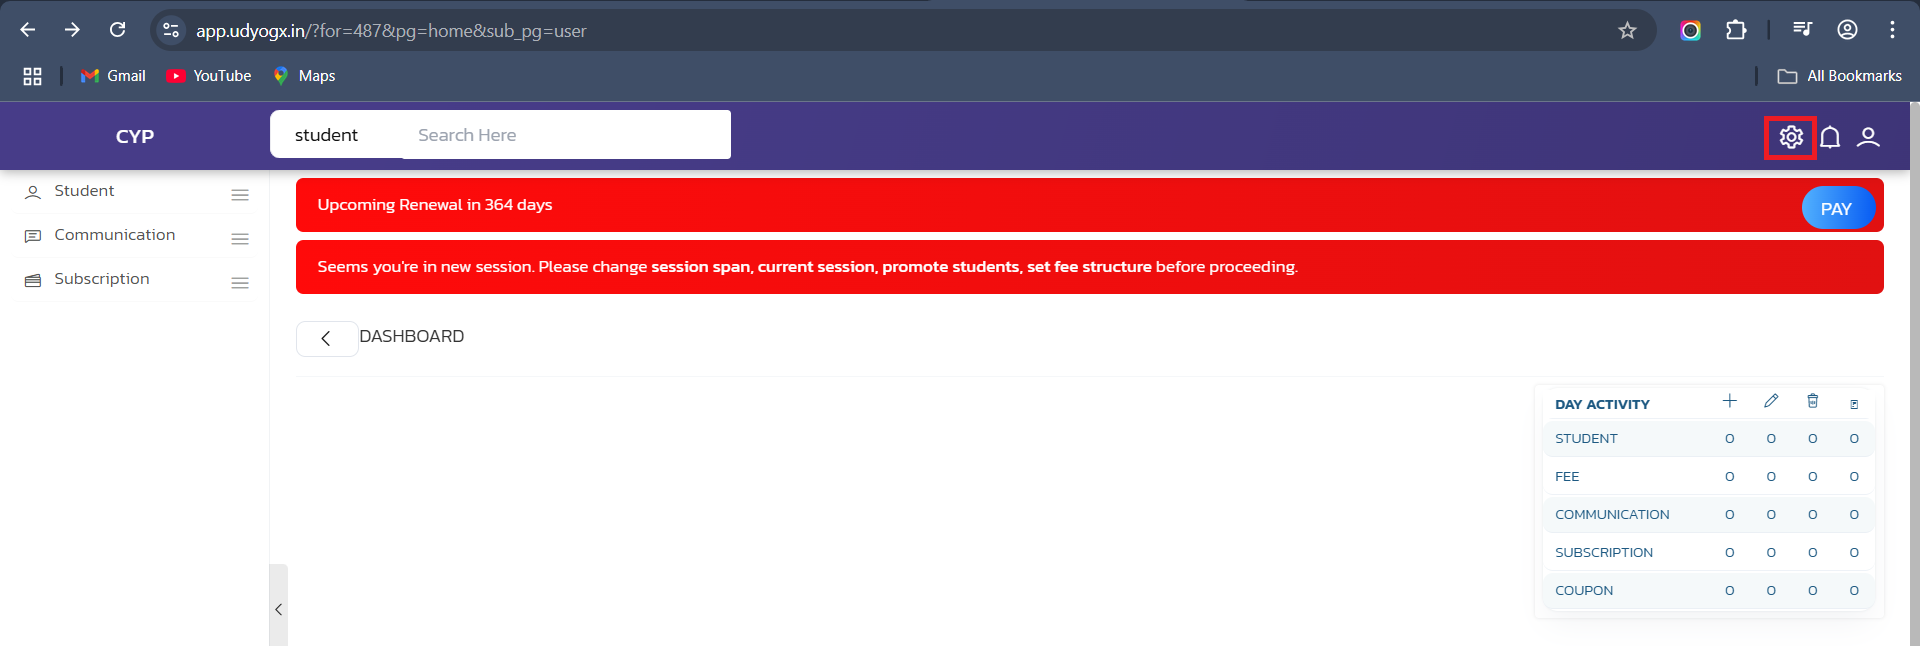
2. Hover Settings Menu: On the top-right corner of the dashboard, hover over the Settings icon to display a submenu.
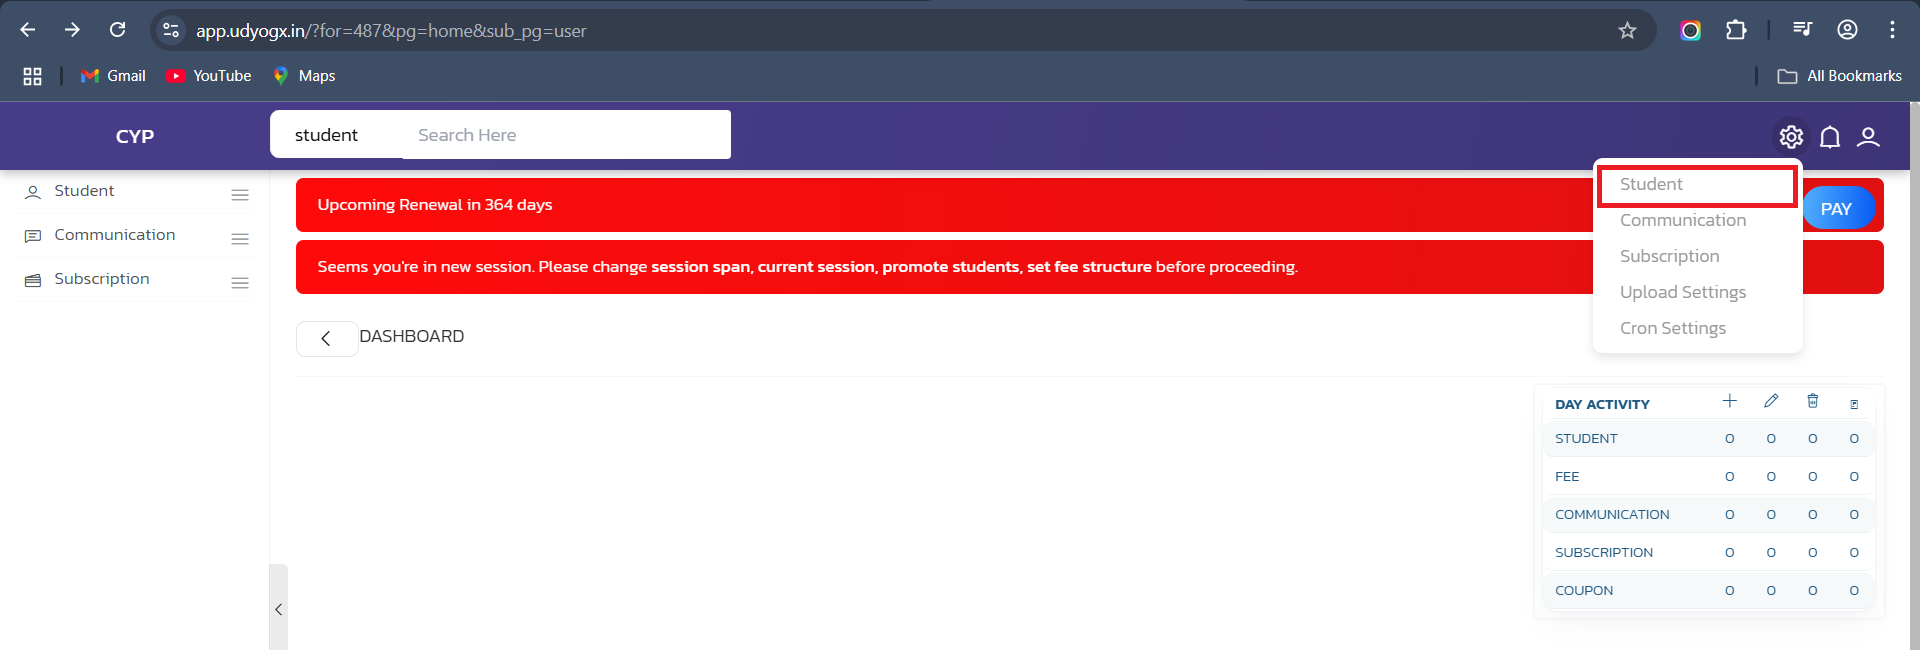
3. Click on Student: From the submenu, select the Student option to proceed to the settings page.
4. Enter Class Names: In the Classes section, enter the desired class names, separating each one with a comma. For example, classes should be added in Roman numerals like I,II,III,IV,V etc.
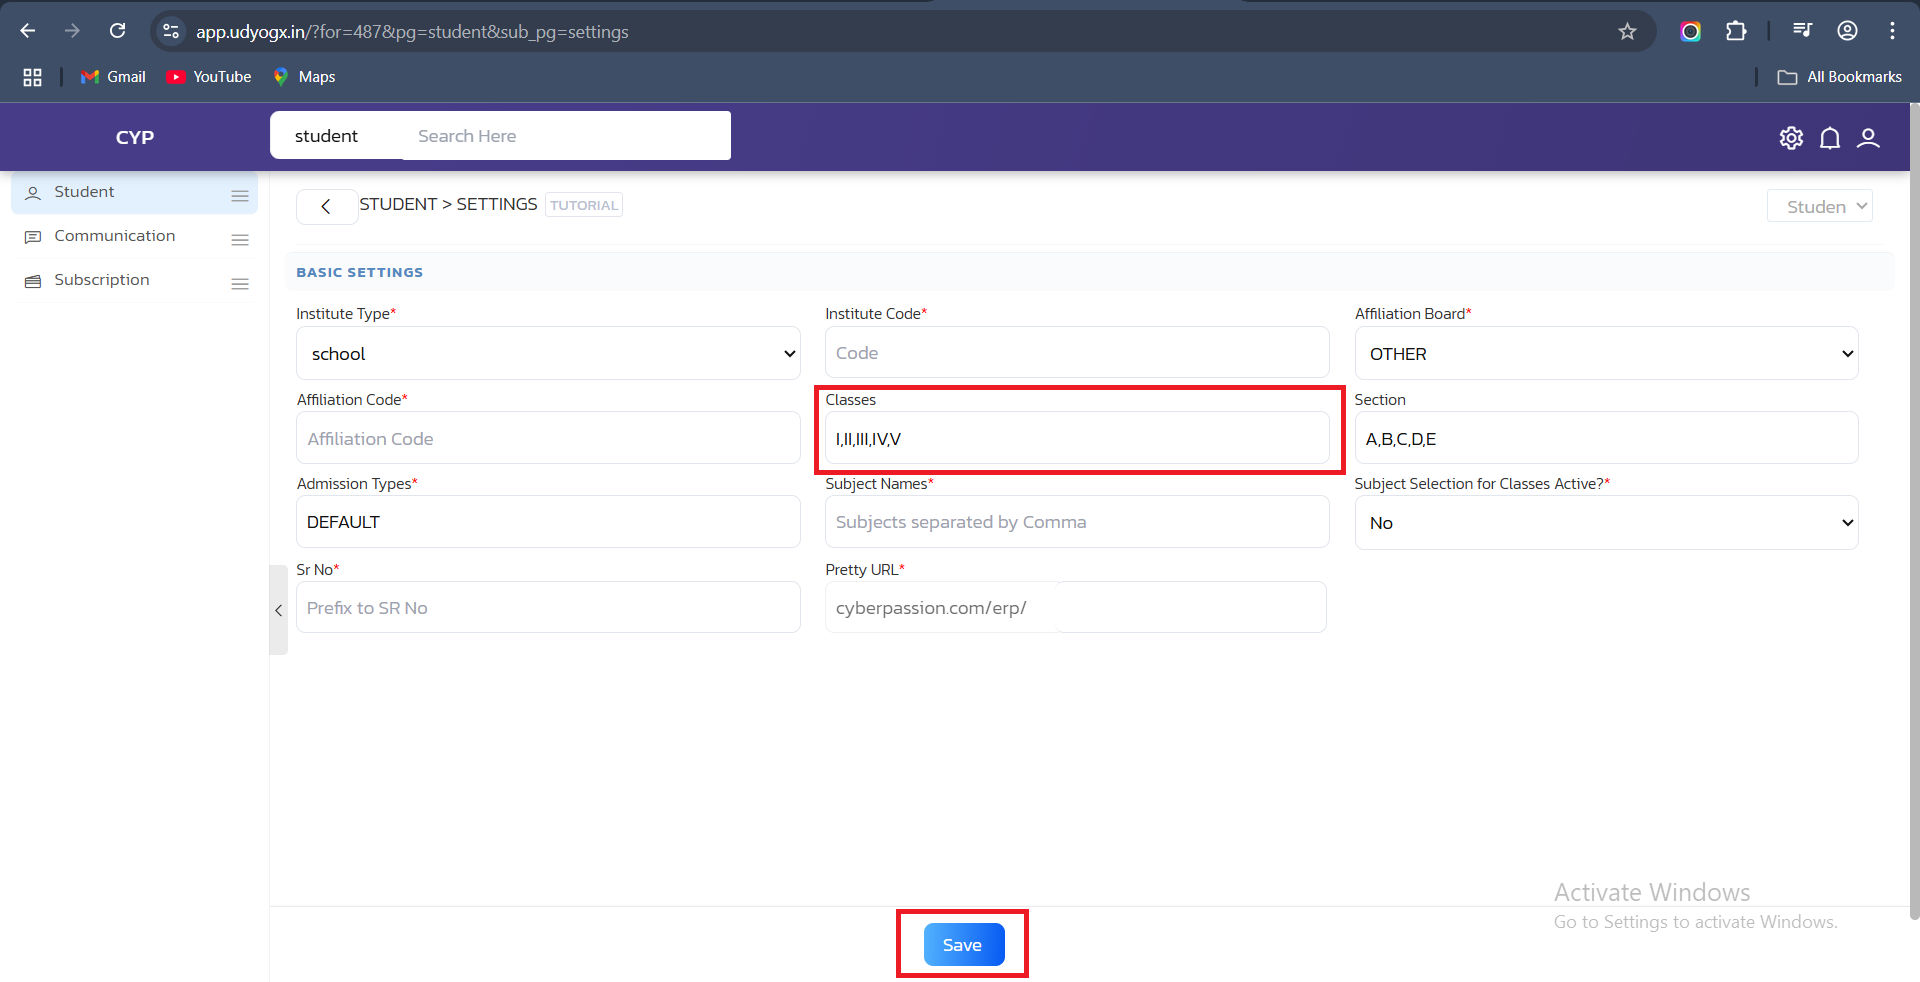
5. Save Changes: Click the Save button to update and store the class list.
Method 2: Using the Sidebar Menu #
1. Login to Your Account: Access your UdyogX Marketplace account by entering your login credentials.
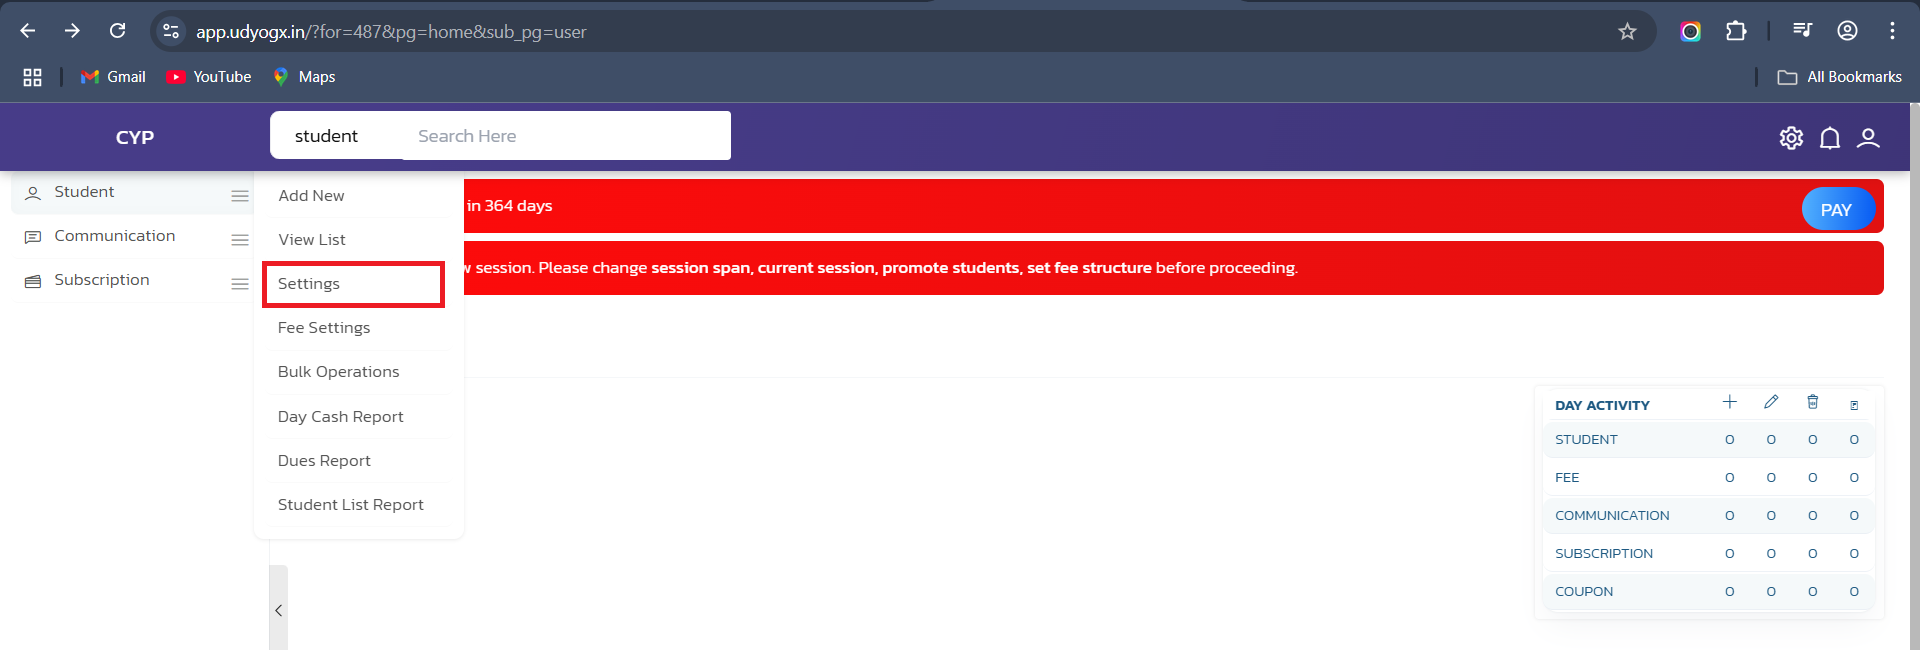
2. Open Student from Sidebar: On the left-hand sidebar, hover over the Student menu to reveal a submenu.
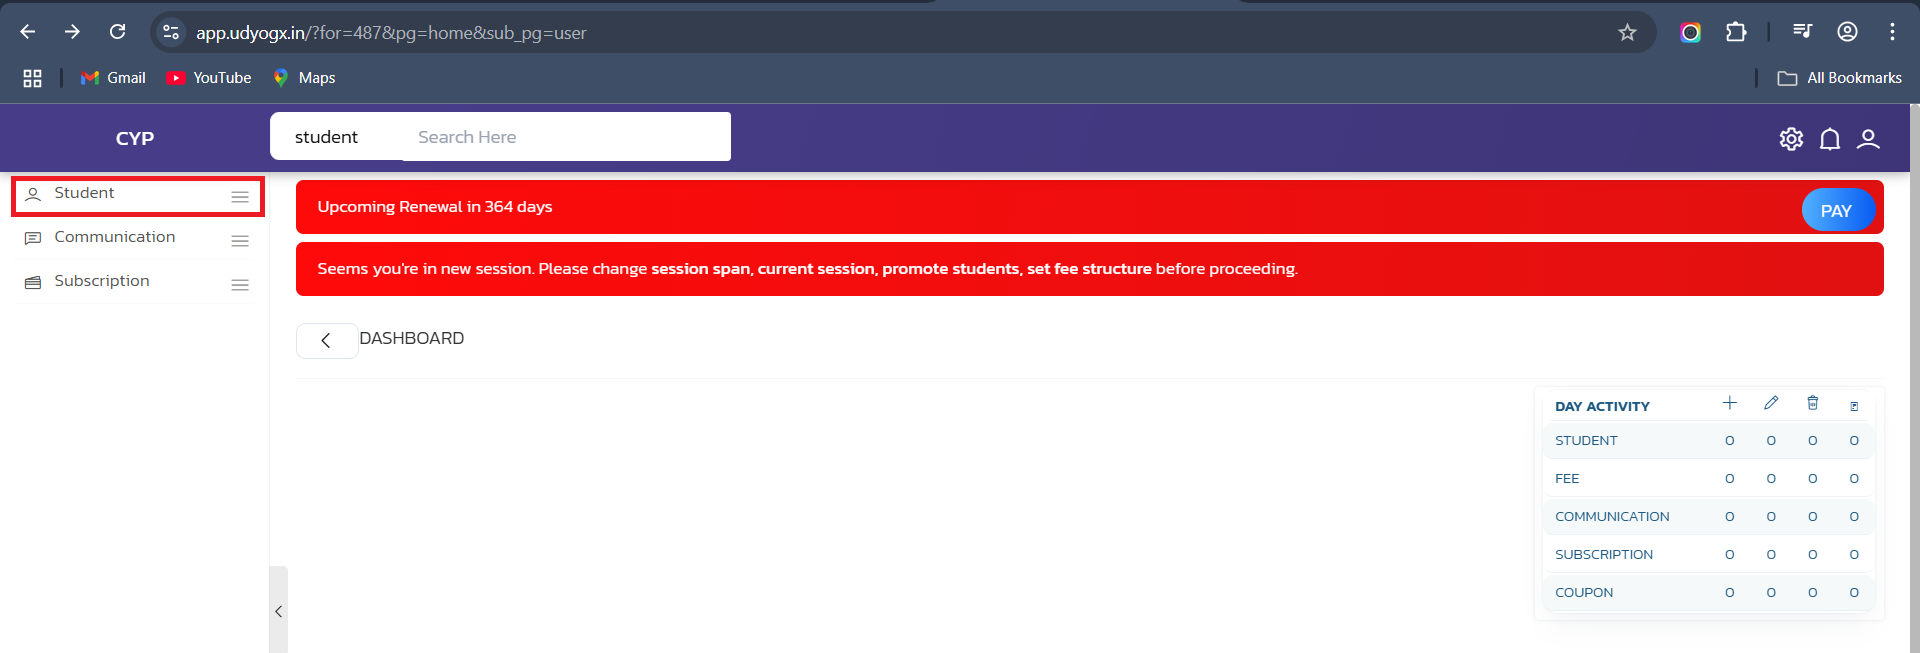
3. Click on Student: Click the Student option in the submenu to access the settings.
4. Enter Class Names: In the Classes section on the opened page, enter the desired class names, separating each one with a comma. For example, classes should be added in Roman numerals like I,II,III,IV,V etc.
5. Save Changes: Click the Save button to confirm and apply the updates.


