Stepwise Instructions #
Follow these steps
- First, log in to the UdyogX Portal using your registered credentials.
- After logging in, the Dashboard page will open.
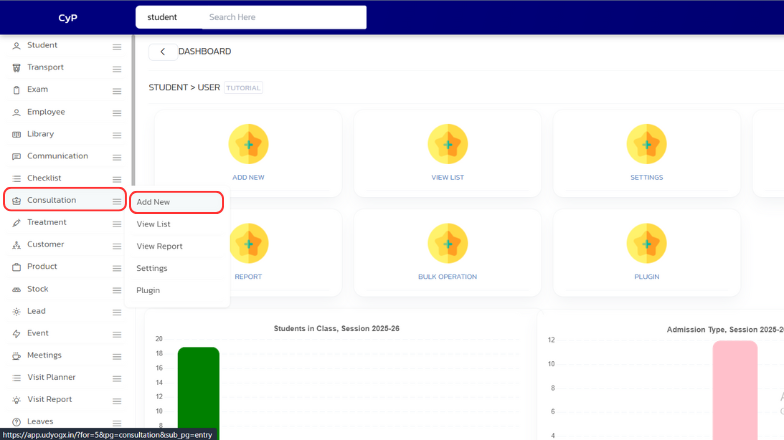
- On the left side of the dashboard, you will see a list of all available modules.
- From the list, go to the Consultation module.
- Move your cursor over the Consultation module, and a sub-menu will appear.
- From the sub-menu, click on “Add New.
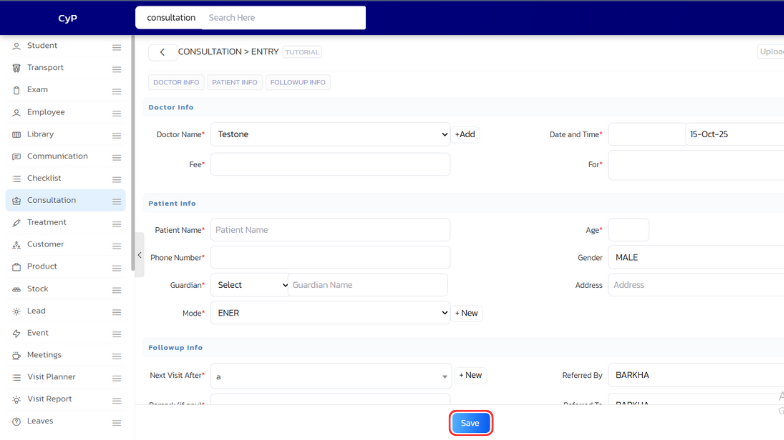
- The Consultation Entry page will open, where you can fill in the consultation entry form.
- In the form, the first section will be Doctor Information.
- On the right side of the Doctor Name field, just below the Date and Time, you will see a tab named “For.
- In this For tab, a dropdown list will appear. From this list, select the disease or reason for which the patient has come for consultation.(for examplate – back pain , neck pain etc)
- After selecting the appropriate option and filling in the remaining details in the form, click on the “Save” button to save the consultation entry.
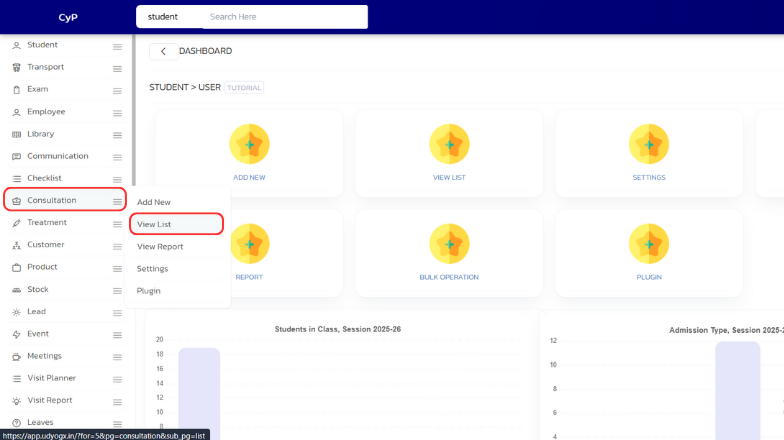
- If later you need to change the “Consultation For” or update any other details, go to the Consultation List page.
- For complete details on how to edit a consultation entry, Click on this link to view the full step-by-step guide.


