Getting started by creating an UdyogX account is easy. Below is a video tutorial and stepwise instructions on how you can easily do it.
Video Guide #
Stepwise Instructions #
1. Visit the Website: Navigate to https://marketplace.udyogx.in/ using your preferred web browser.
2. Explore the Homepage: On the homepage, you will find three main navigation options at the top: About, Industries, and Modules.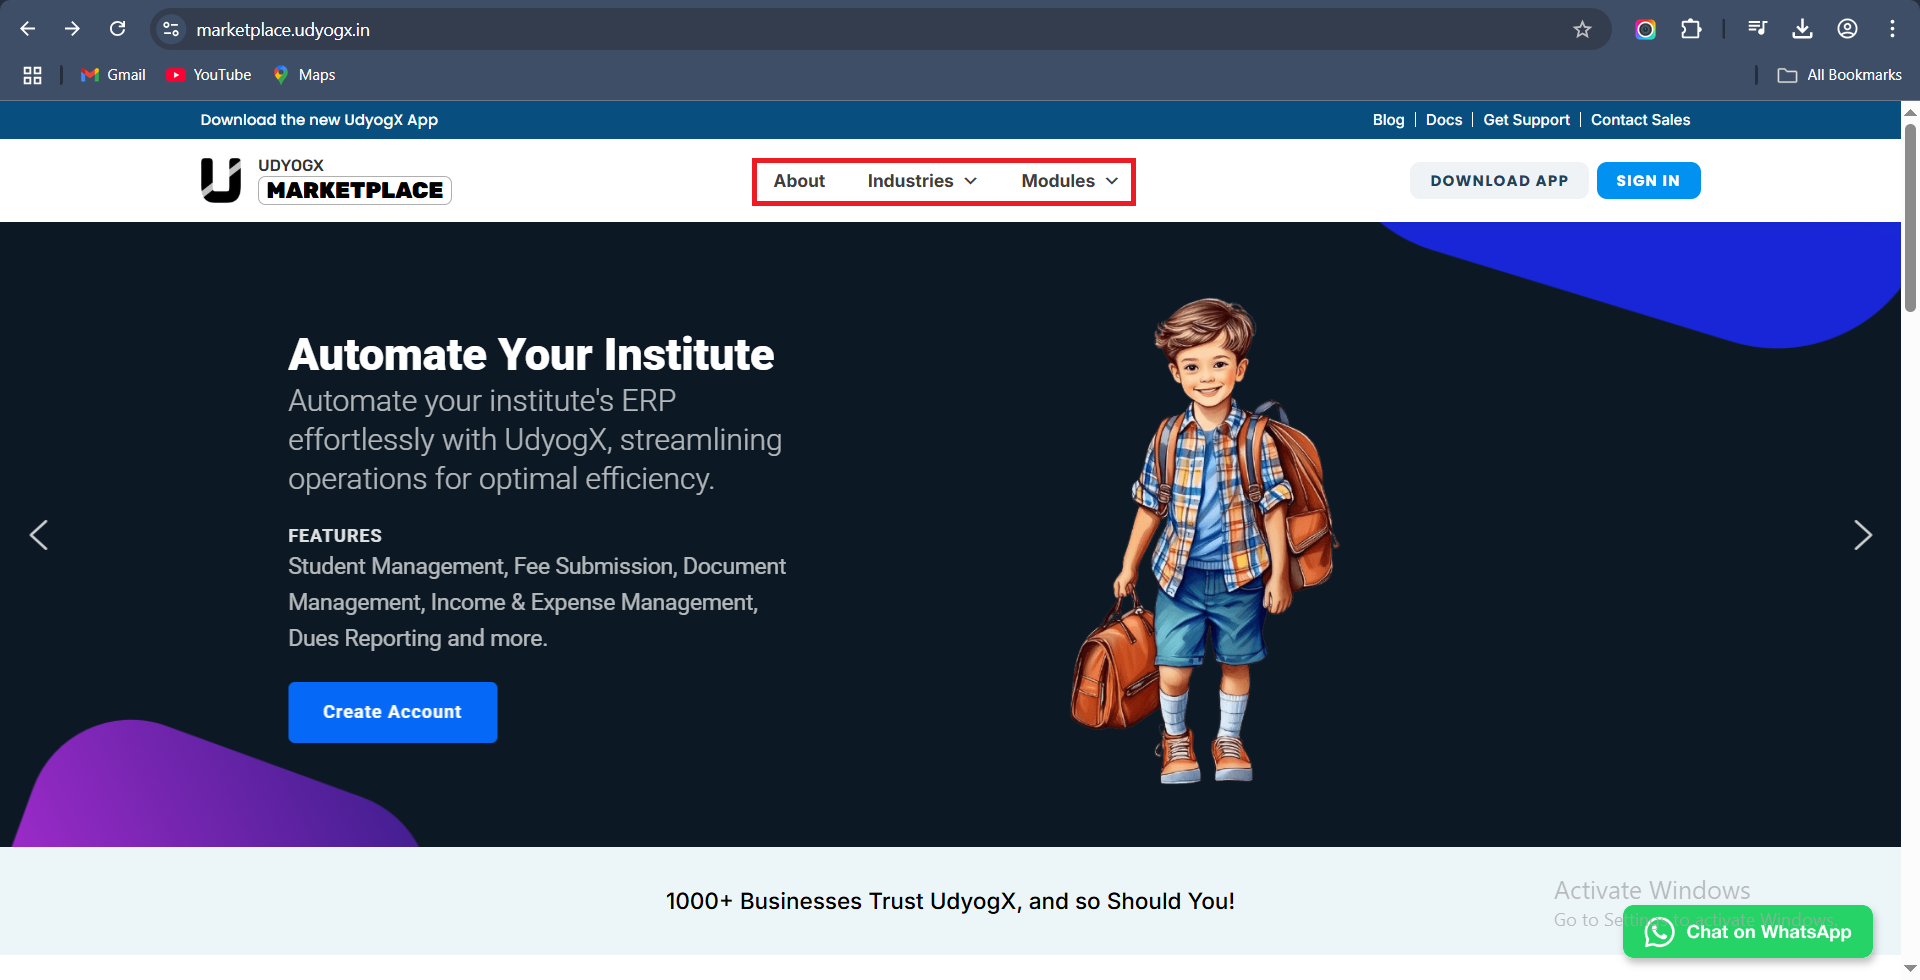
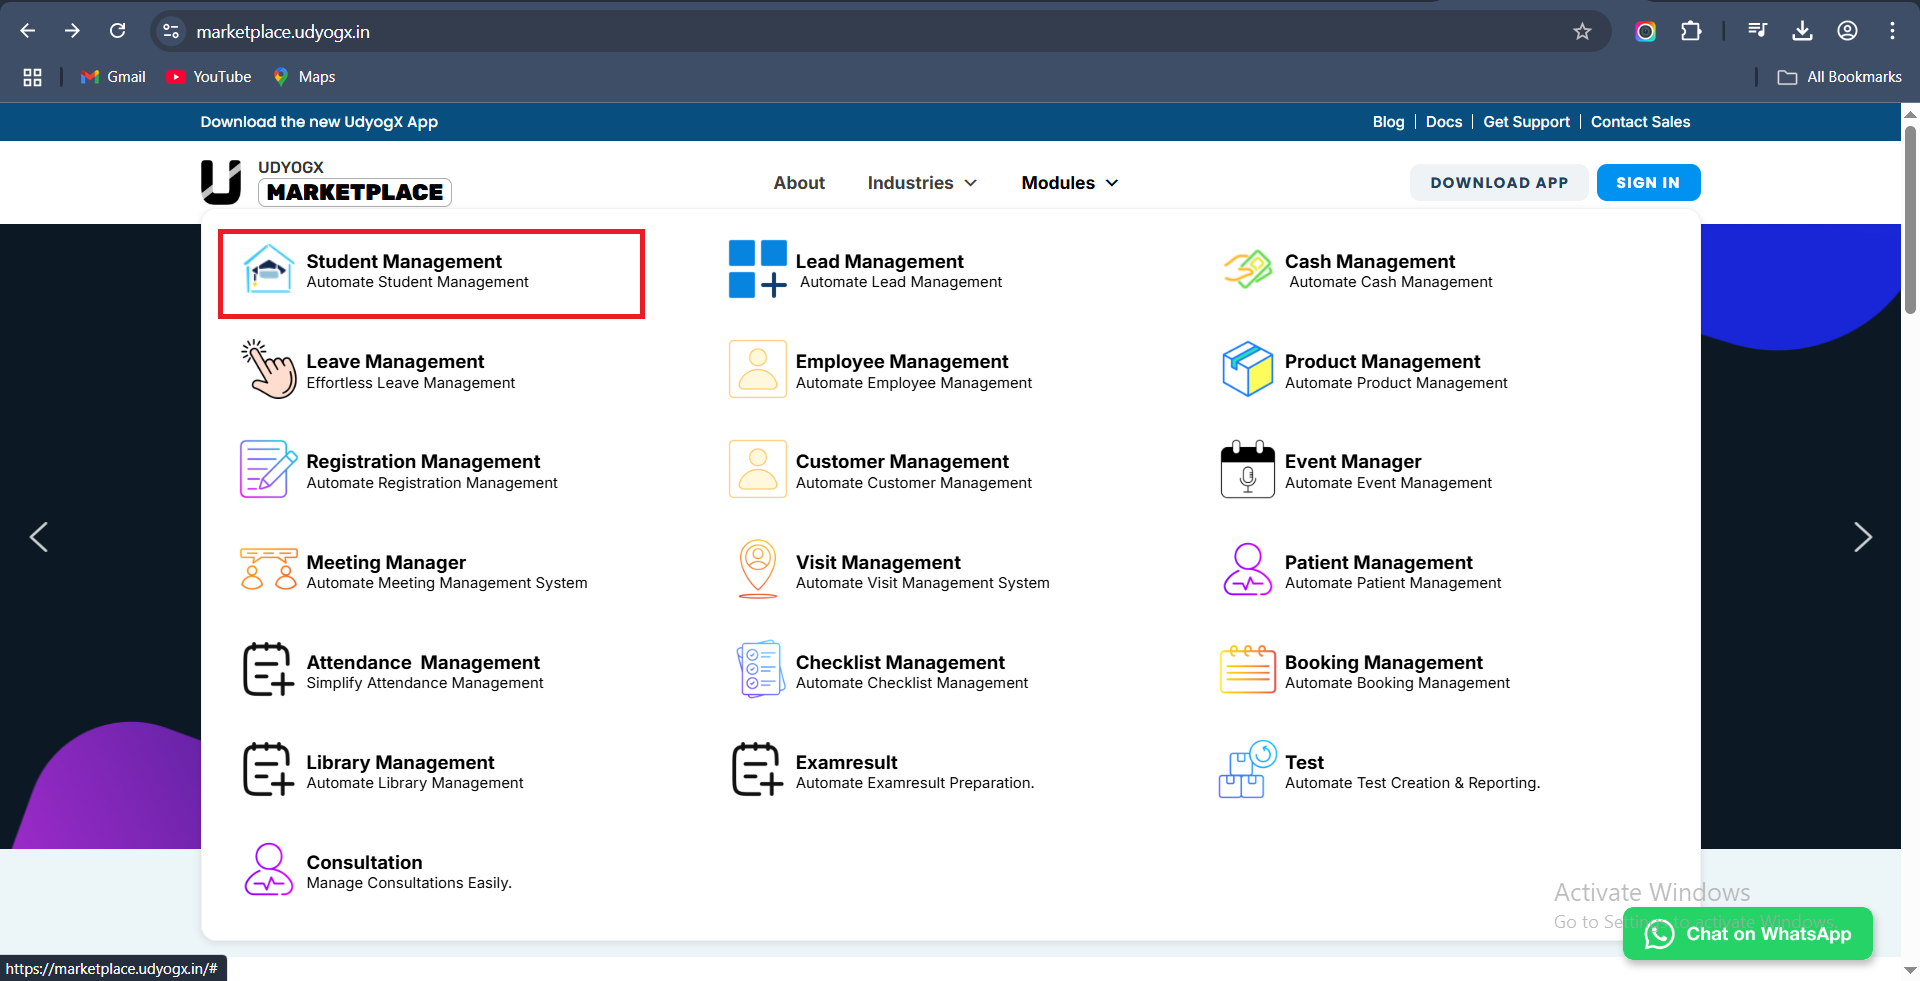
3. Select a Module: Hover over the Modules option to view a dropdown list of available modules such as Student Management, Lead Management, Cash Management, and others. For example, click on Student Management to proceed with this module.
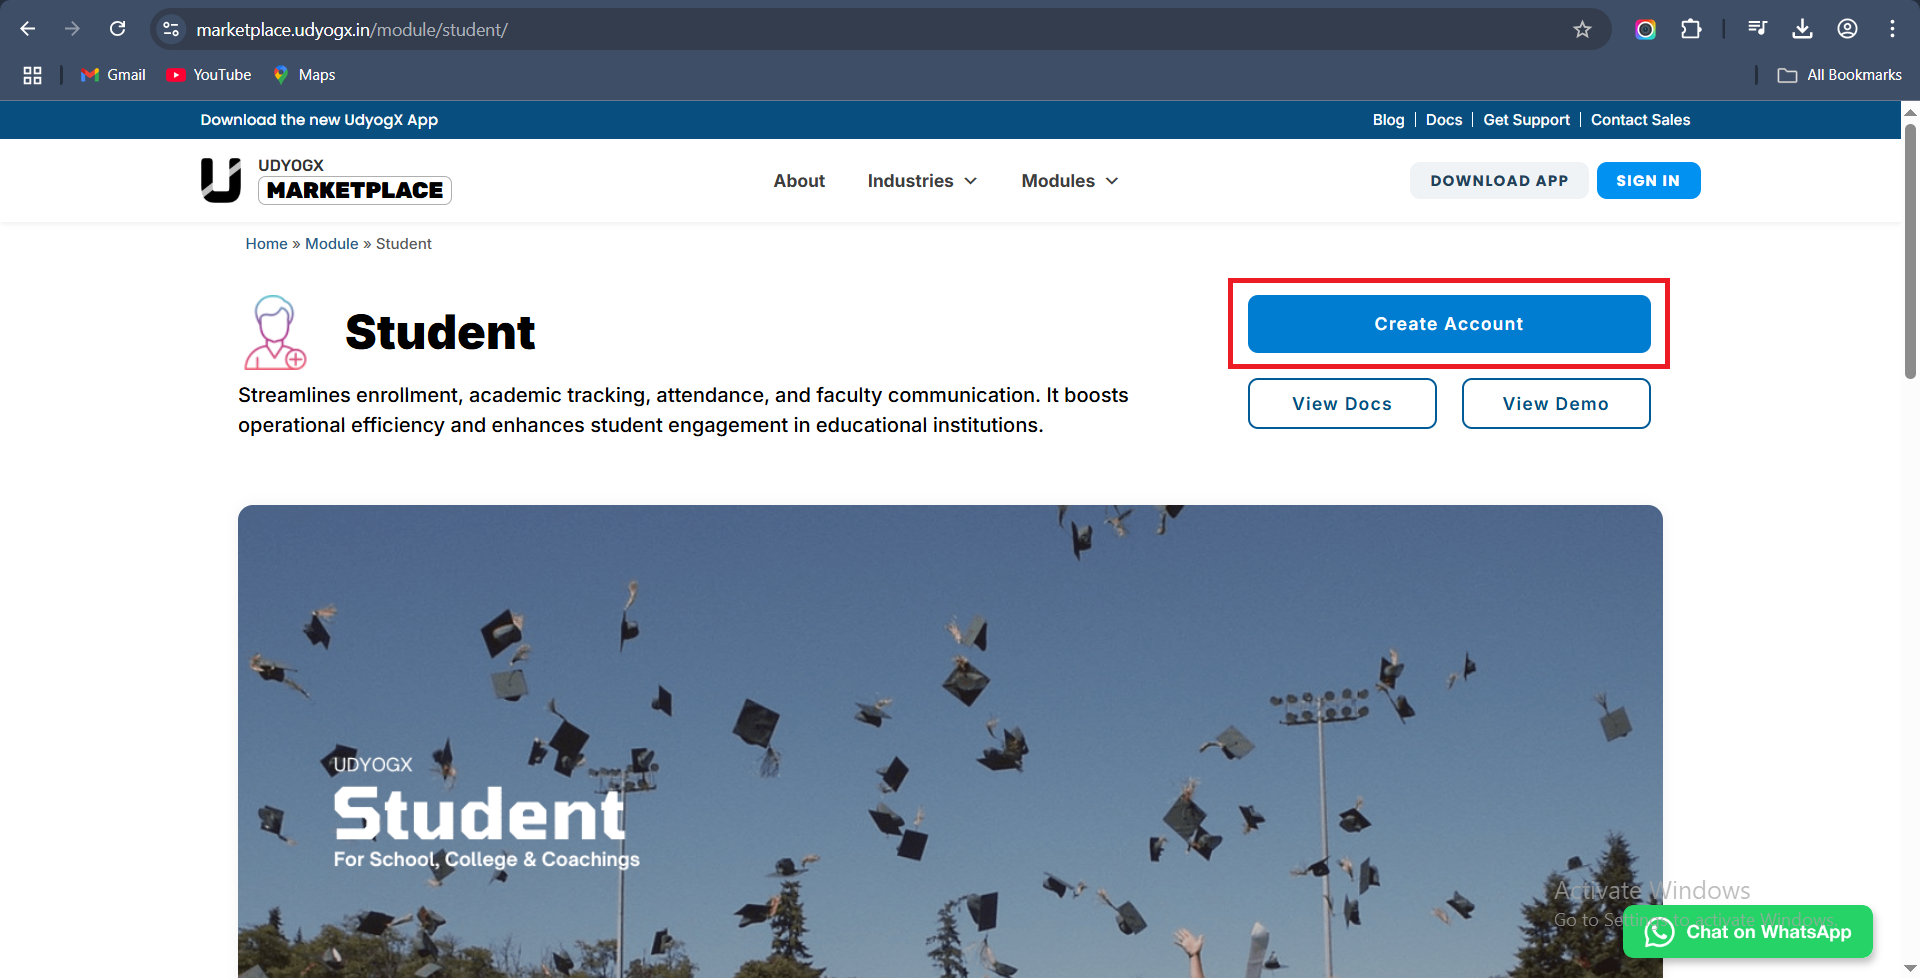
 4. Access the Module Page: You will be redirected to the dedicated page for the selected module. Click on the Create Account button provided on the page.
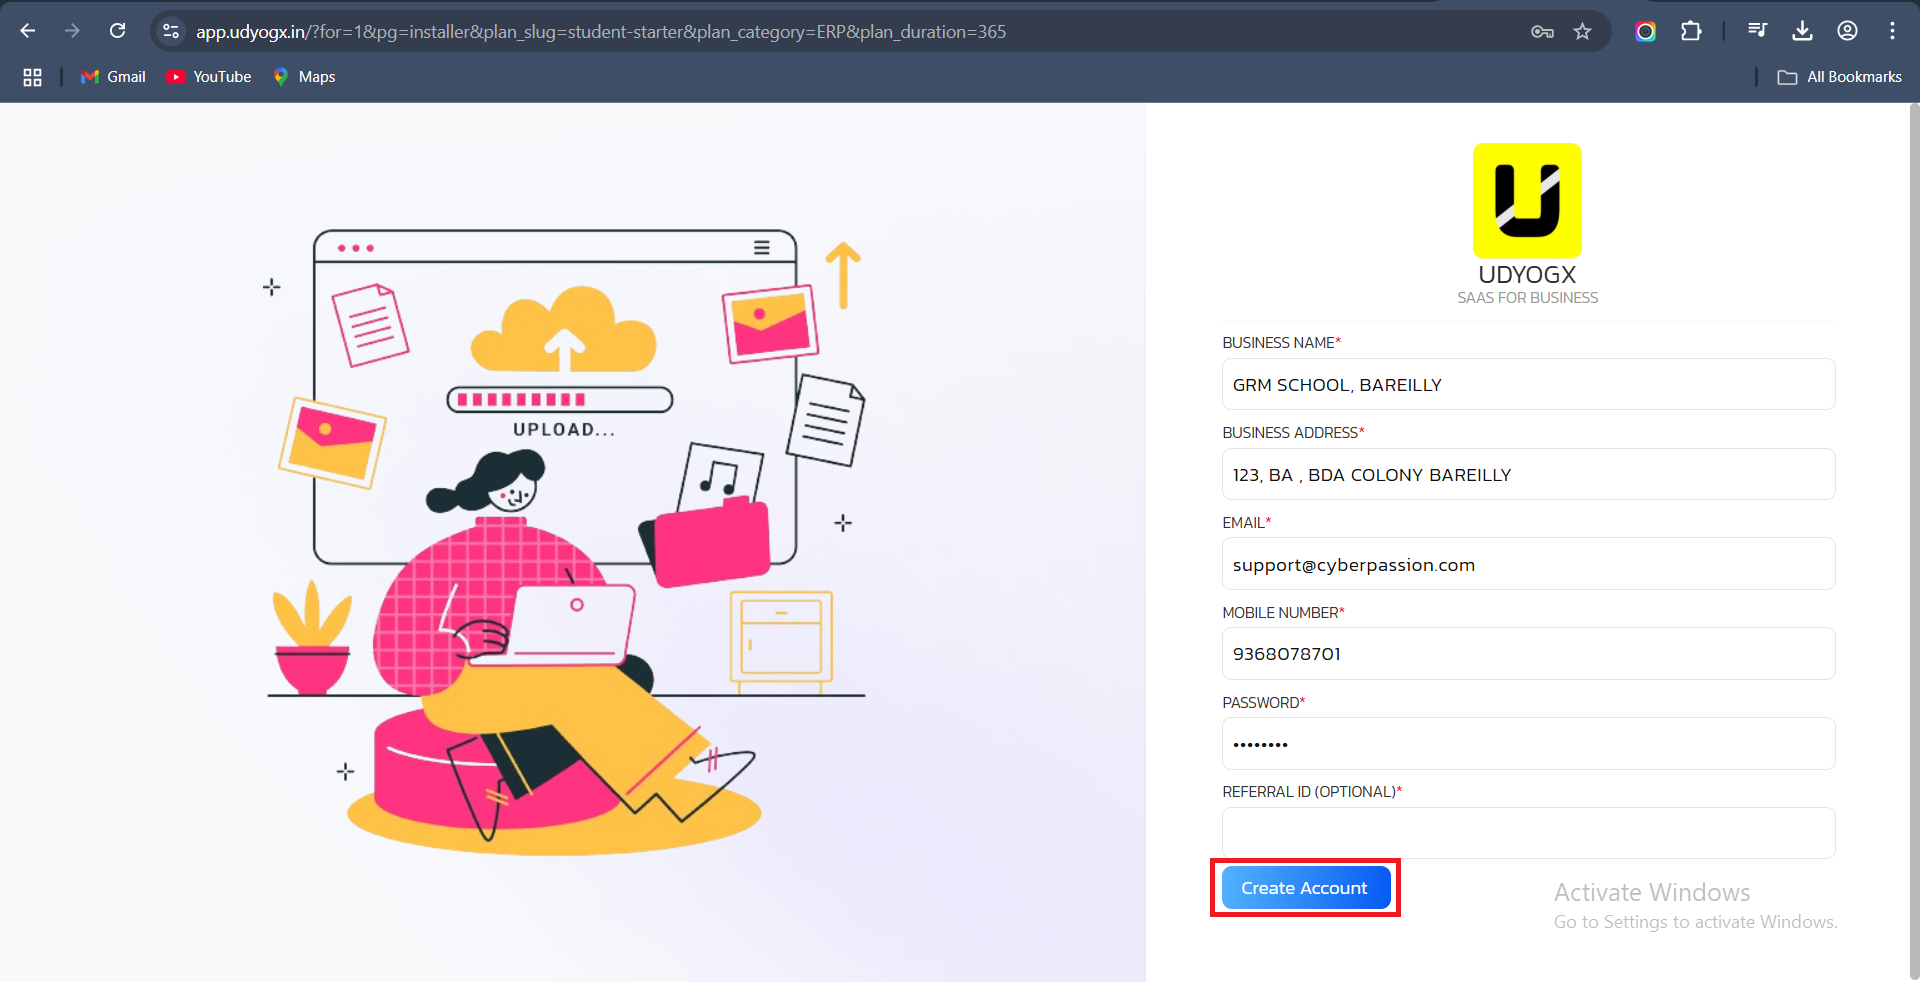
5. Fill in the Required Details: The account creation form will appear. Enter all the necessary information as requested.
6. Submit Your Application: After filling out the form, click on the Create Account button to proceed.
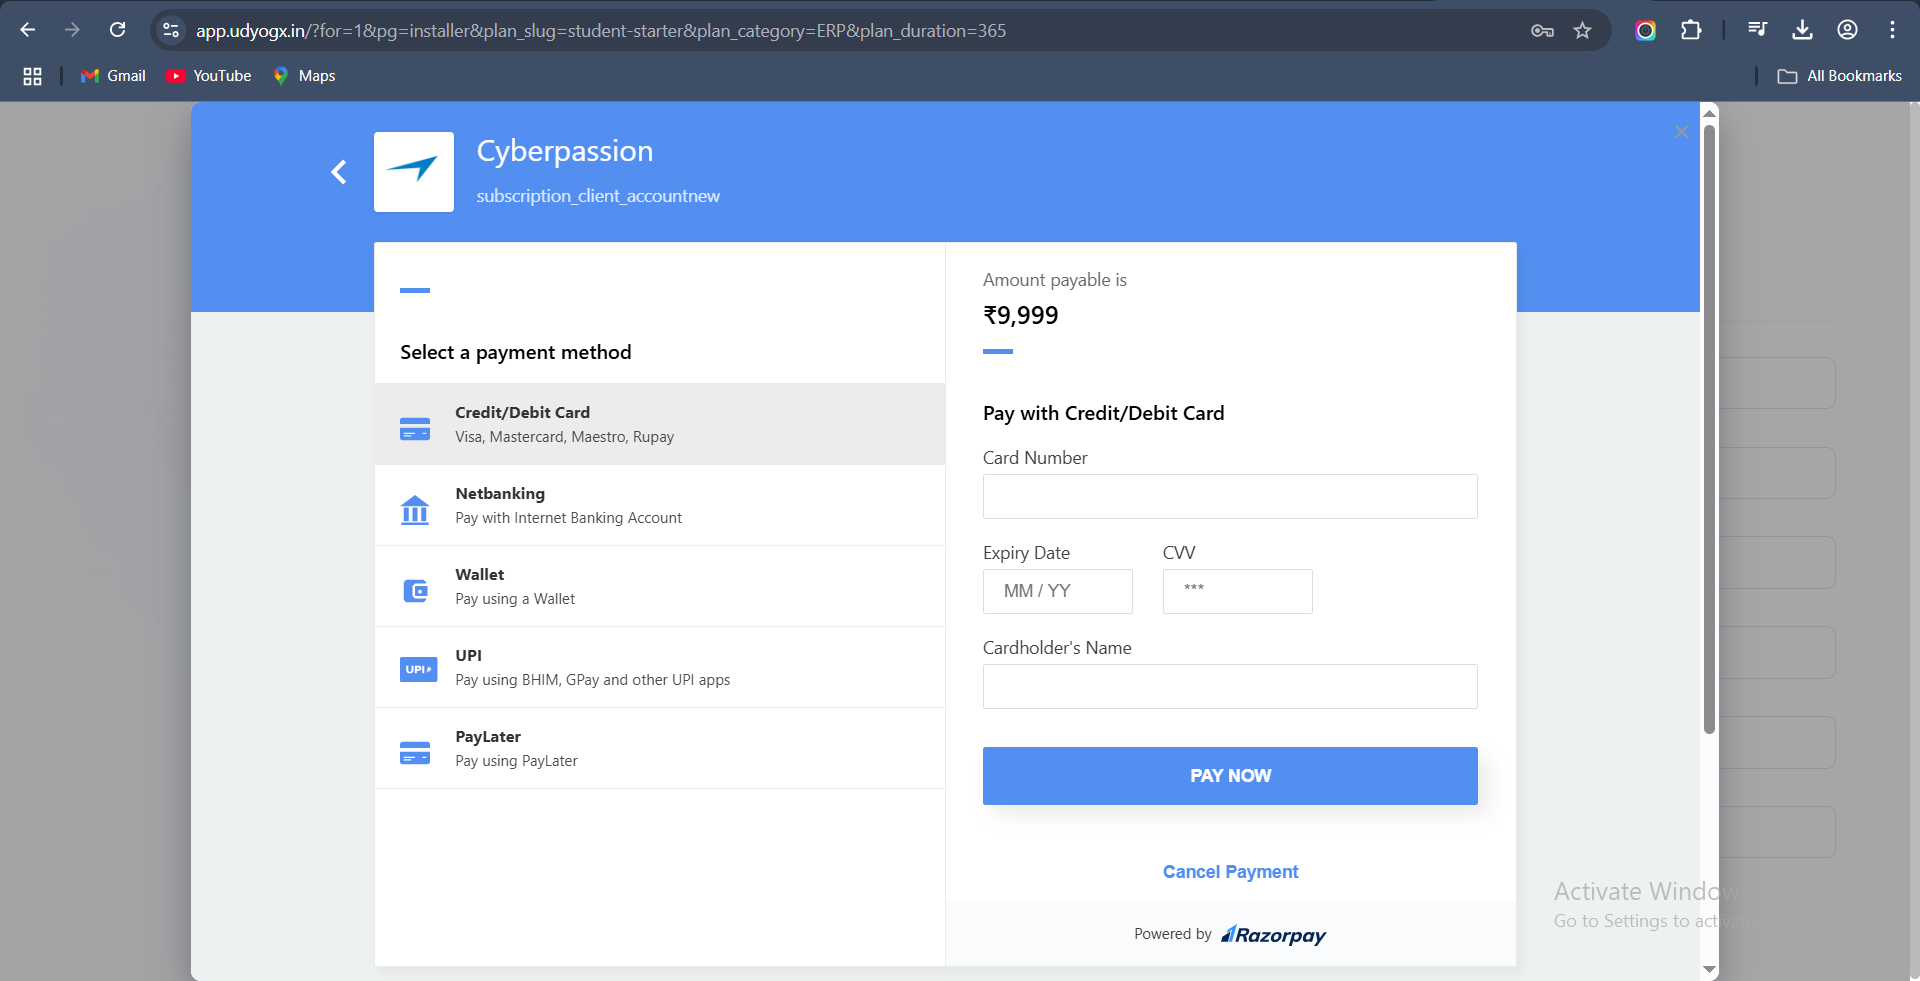
7. Complete the Payment: After clicking the Create Account button, you will be redirected to a secure Razorpay payment page. On the left side, you can choose your preferred payment method such as Credit/Debit Card, Netbanking, Wallet, UPI, or PayLater. Once selected, the right side will display the required fields for that option—for example, if you choose card payment, you’ll need to enter your card number, expiry date, CVV, and cardholder’s name. After entering the details, click on the “Pay Now” button to complete the payment.
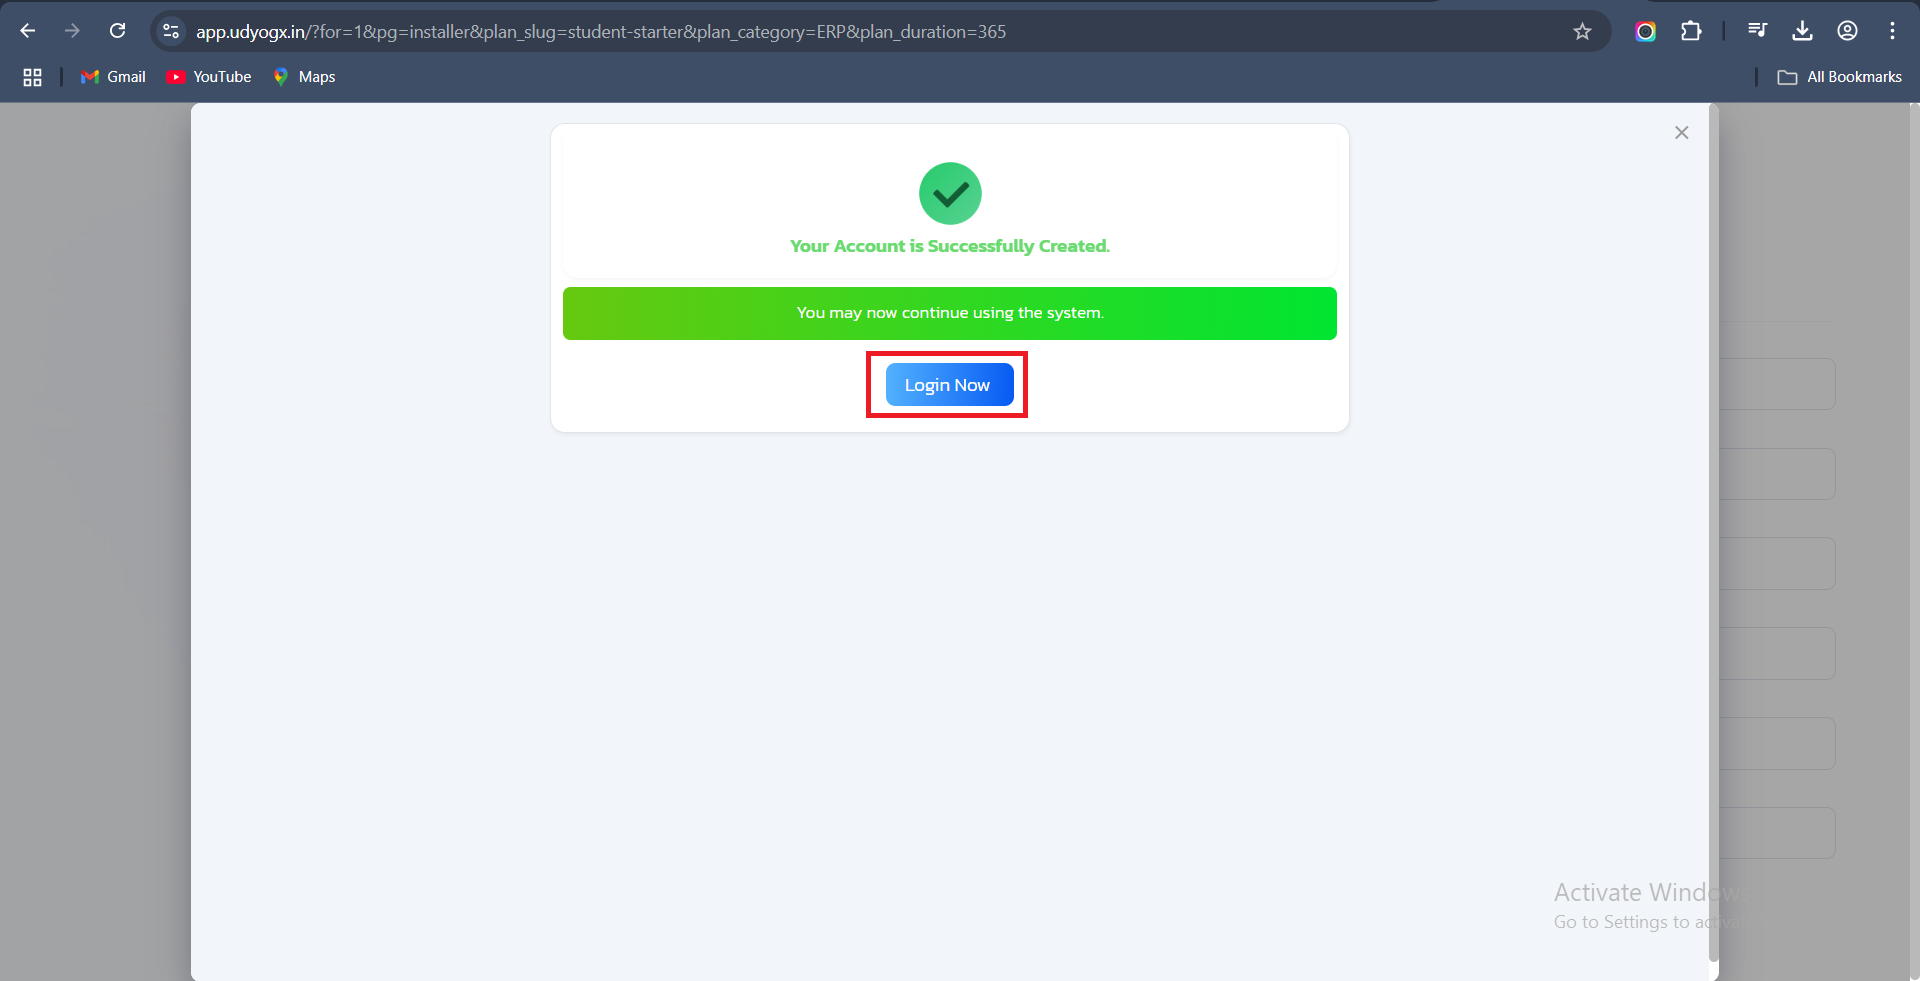
 8. Proceed to Login: After the payment is successful, a confirmation page will appear where you need to click on the “Login Now” button to continue.
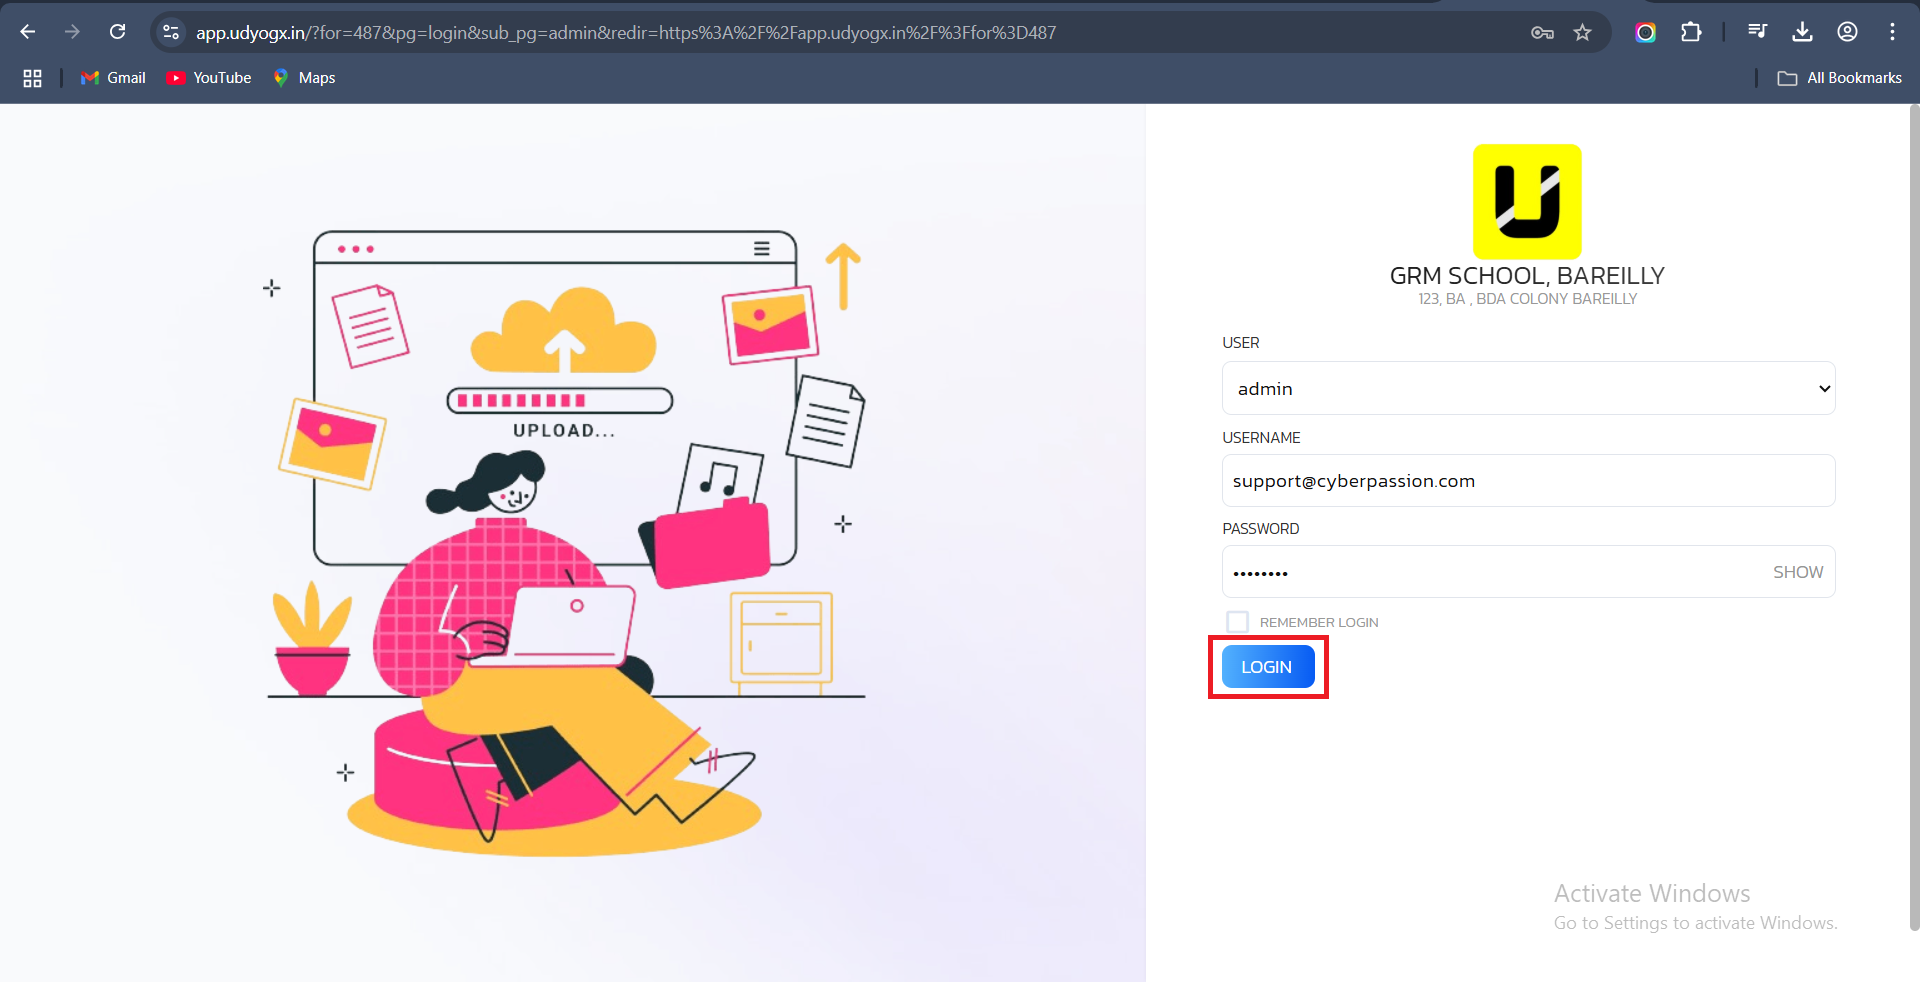
9. Login to Your Account: Once your account is successfully created and payment is confirmed, log in using your registered credentials.